How to Make a Banner in Photoshop for Printing
Designing a compelling banner for printing requires a systematic approach to ensure a flawless final product. This article guides you through the step-by-step process of creating a print-ready banner using Adobe Photoshop, a graphic design software. The article covers each essential aspect, from setting up the Photoshop document with correct dimensions, color modes, and bleed margins to designing the banner with images, text, and branding elements.

1. Setting Up the Photoshop Document
Before designing your banner, you must set up the Photoshop document correctly. This will ensure that your banner will have the right file size, resolution, and color mode for printing.
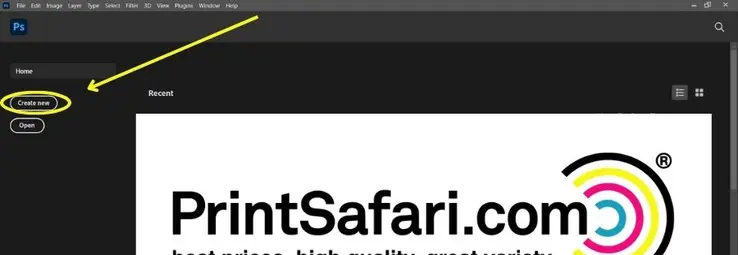
Create a New Document
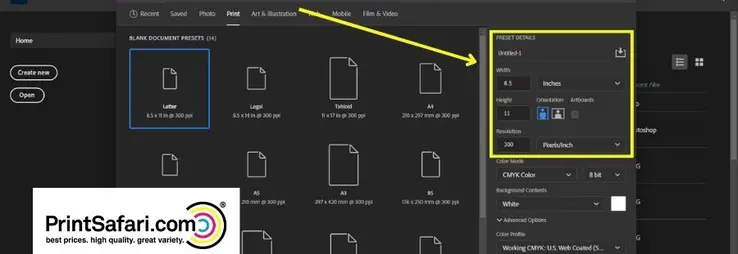
Launch Photoshop and create a new document. Choose the appropriate size for your banner design, considering the final display location.
Choose the Correct Dimensions and Resolution
Set the dimensions of your banner in inches, pixels, or other suitable units. For printing, a standard resolution is 300 pixels per inch (PPI) to ensure crisp and clear images.
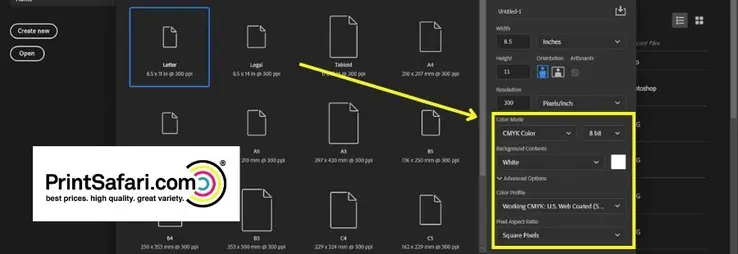
Select Appropriate Color Mode (RGB or CMYK)
Opt for the CMYK color mode to ensure accurate color representation when printing. RGB colors are more suitable for digital displays, while CMYK is designed for print.
Set Bleed and Safe Margins
Adding a bleed ensures images or graphics extend beyond the final trim size, preventing any white edges after cutting. Set a bleed of at least 0.125 inches (3.18 mm). Furthermore, depending on your settings, establish safe margins where personalized content and ads are kept within a safe zone, usually around 0.25 inches (6.35 mm) from the trim edge.
2. Designing the Banner in Adobe Photoshop
The next step is to design your banner using Photoshop’s tools and features. You can use any style and layout that suits your purpose and audience, but here are some general tips to keep in mind:
- Strategically place high-resolution images and graphics that resonate with the message. Ensure they enhance rather than overwhelm the composition.
- The text should be placed thoughtfully, considering hierarchy and readability. Choose typography that aligns with the tone of the message – elegant fonts for sophistication, bold for impact. Maintain sufficient spacing for a clean look.
- Incorporate branding elements like logos and color schemes harmoniously, reinforcing brand identity.
- Add subtle special effects like shadows or gradients to lend depth if appropriate. However, restraint is key; effects should complement, not overshadow.
3. Export Photoshop File for Printing
Once you are satisfied with your banner ad design, you need to export your file for printing. Exporting a Photoshop file for printing involves several important steps to ensure the final printed output looks as expected. Here’s a general guide to help you through the process:

Check Document Setup
Before you start, ensure your Photoshop document has the correct dimensions, resolution, and color mode for printing. Common print resolution is 300 DPI (dots per inch), and the color mode should be CMYK for most print projects. And if you have a vector file for your art, you don’t have to worry about PPI at all.
Image Adjustment
Adjust your image for print quality. This might involve color correction, retouching, sharpening, and other adjustments to ensure the image looks its best when printed.
Embed Fonts
If your banner in Photoshop includes text layers, rasterize or embed the fonts to prevent potential font substitution issues.
Layers and Flattening
If your document has multiple layers panel, consider flattening them before exporting. However, keep a backup of your layered file correctly if you need to make edits later.
Set Bleed and Trim Marks
For print projects that extend to the edge of the paper (full-bleed), extend your design beyond the trim area by about 1/8 inch (3mm) to account for slight trimming variations. Some printers might require specific bleed and trim mark settings.
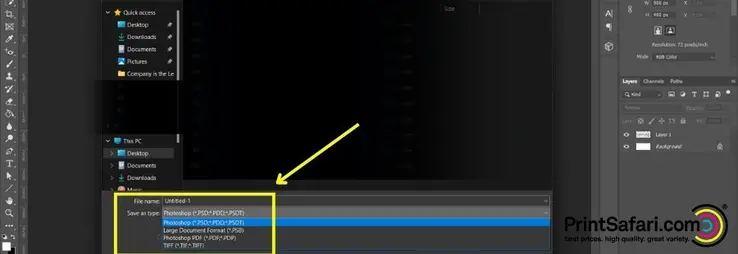
Choose File Format
Common banner design file formats for print are TIFF, PDF, and PSD. TIFF is a lossless format and is often preferred for high-quality printing. PDF is also widely used and can be versatile, especially for multipage documents. PSD is Photoshop’s native format.
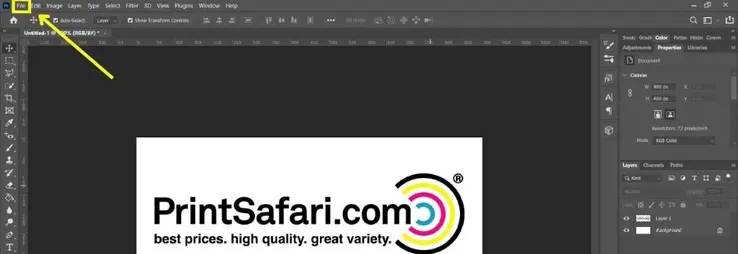
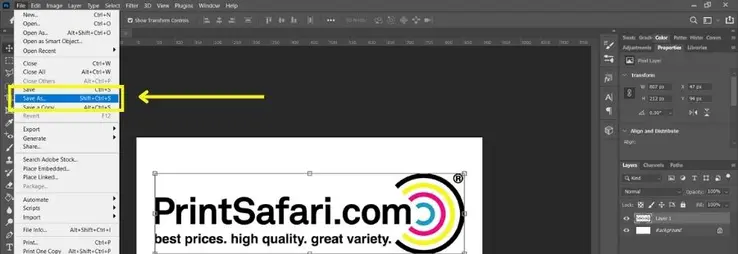
Save or Export
Choose “Save As” or “Export” from the File menu. Select the desired file format (TIFF, PDF, PSD) and adjust the settings according to the printer’s requirements.
4. Printing Considerations
Now, finally, it’s time to print your banner ad. Select the appropriate banner ad material and finishing option for the best quality results. Banners can be printed on various materials like vinyl, fabric, mesh, or paper. Each material has advantages in terms of durability, weight, and finish.
Common print material options include:
Grommets: Metal rings inserted along the banner’s edges for easy hanging.
Hems: Folded and stitched edges that improve durability.
Pole Pockets: Sleeves added to accommodate rods or poles for display.
Lamination: A clear protective layer that adds gloss or matte finish and increases longevity.
Once you’ve selected the material and finishing options, the printing service will use their large format printers to bring your design to life on the chosen material. The printer’s quality and color accuracy ensure that the final product matches your design intent.
Finishing options include:
Vinyl: Durable and weather-resistant, suitable for outdoor use.
Fabric: Lightweight and versatile, with options for indoor and indoor-outdoor use.
Mesh: Ideal for windy outdoor environments due to its perforated texture. Appropriate for large leaderboard banner design.
Paper: Typically used for indoor events and short-term displays.
In addition to choosing the material, you’ll also need to consider finishing options that enhance the banner’s visual appeal and functionality:
Why Our Banner Printing Stands Out
We’re committed to delivering high-quality banners at competitive prices. Here’s why our service is the perfect fit for your next banner project:
Versatile Options
Choose from a variety of sizes, materials, and finishing options to suit your needs and budget.
Exceptional Quality
Our investment in state-of-the-art printing technology is outstanding. We are committed to using the latest and greatest equipment, ensuring that your booklets are produced with precision, vibrant colors, and unmatched clarity, creating a lasting impression on your audience.
Fast Turnaround
Get your banners quickly with fast production times and same-day shipping.
Customer Satisfaction Guaranteed
We stand behind our work with a satisfaction guarantee and dedicated support team.
Order your banners today and impress your audience with a professional, high-quality design that truly stands out!
get an instant print quote!